One of the relatively cost-effective methods for extending the useful life of a computer these days is to upgrade to a Solid State Drive. By eliminating the physical spinning disc and its latency, an SSD provides a noticeable boost to any desktop or laptop’s performance.
I elected to do a clean operating system install on the SSD rather than cloning my existing drive. I used a USB-to-SATA external enclosure to mount the SSD. From there, I ran a clean install of OS X Mountain Lion and selected the external drive as the destination. I confirmed the OS install by booting from the USB drive and everything came up fine.
Then it was time for the physical install of the SSD into the MacBook Pro.
You will need:
- a very small Philips screwdriver. In my case, the External enclosure came with one that worked great.
- a small Torx driver. This is used to remove the ‘lugs’ that are installed on the drive itself. I didn’t have a Torx driver small enough, so was able to use needle nose pliers to gently remove and install the lugs.
I recommend a good open workspace with plenty of light. The screws involved are quite small and would be easy to misplace.
First, flip the MBP over and carefully remove the 10 screws that hold on the bottom panel. These are not all the same length, so keep track of which hole they go in to.

Carefully lift of the bottom cover. As you can see in the picture, there was plenty of dust to be cleaned up. Be gentle.
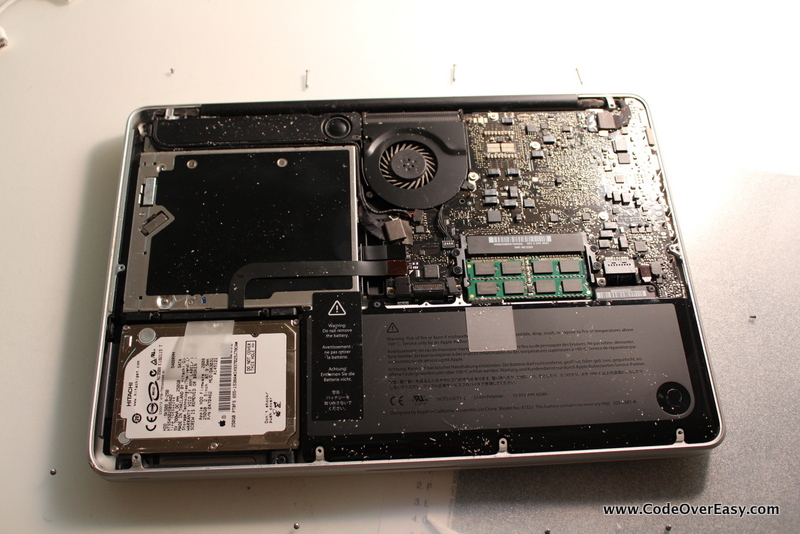
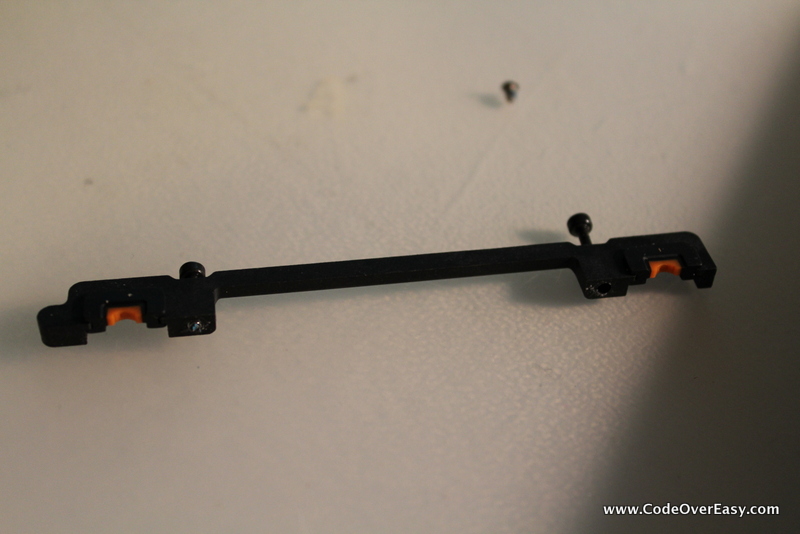
The hard drive is in the lower left, and is held in place by a plastic ‘bar’ along the top edge of the drive. This bar is held in place by 2 more screws. Note: these screws won’t come all the way out, so just get it loose and gently lift off the retaining bar.
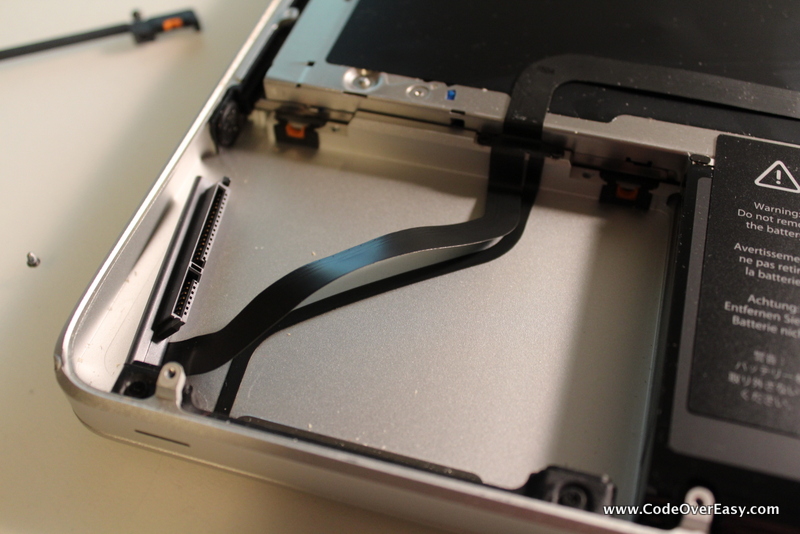
After removing the retaining bar, pull on the plastic tab to pivot the hard drive towards you. Slide the drive up and out, being careful of the power/SATA cable that runs underneath it. As soon as you are able, disconnect the power/SATA connection.
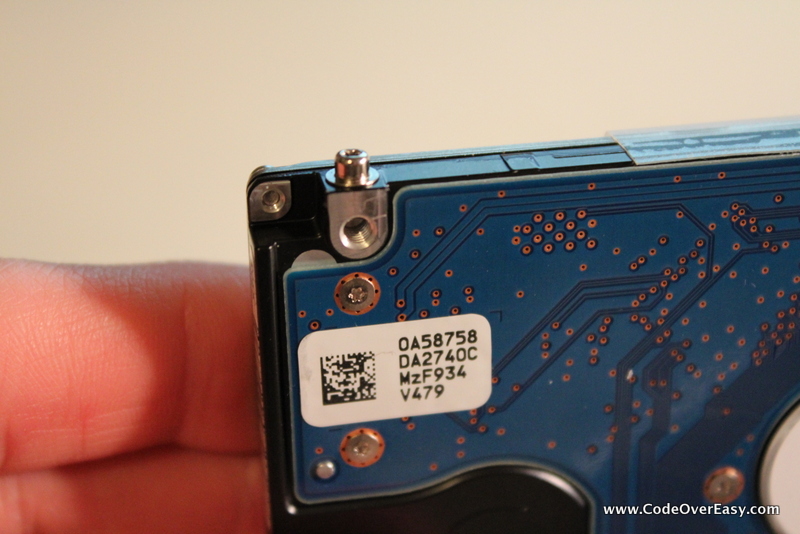
With the old drive free, you’ll see 4 lugs on the edges of the drive, one in each corner. These lugs need to be transfered to the new drive. Use a Torx driver (or small pliers) to remove them from the old drive and put them on the new one.
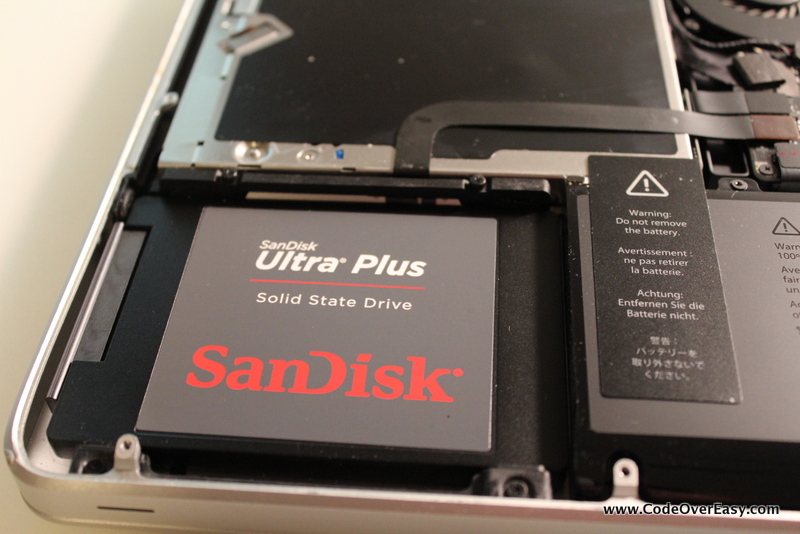
After the lugs are in place, connect the power/SATA cable to the new drive, and place the drive into the bay. Tip it up, get the lugs under the lower retaining bar, then settle it in to the upper retaining bar. Finally, replace the top retaining bar and tighten the screws down.
Finally, replace the bottom cover and get all the screws in place.
Since I had already gone through the Mountain Lion first load sequence, my first boot with the SSD went right to the login screen.
I don’t have any particular benchmarks, but the user experience is noticeably improved. Overall load up of applications generally occurs within one or two bounces on the dock.
For under $200, an SSD drive will easily add plenty of life to your hardware. I don’t know what took me so long!
(Let it be said too, I got SSDs for a 2006 era Dell desktop, as well as my wife’s 2009 MacBook and all three systems are performing great.)