Recently, a fair amount of media attention has been directed at the idea of standing instead of sitting while one works. There are reports showing that sitting kills, and a variety of options for adjustable tables or desktop stands have hit the market.
As a developer who does in fact, work at a desk for the better part of 8 hours a day, I can attest that working while standing does allow me to feel more alert and focused while I work.
So I set off to design and build a sit-or-stand platform for my home office.
Since the file cabinet and desktop setup I constructed for my home office is shared between my wife and I, a free standing desk wasn’t an option. Rather, I needed something that could sit on top of my existing desk, but rise up to standing height when I preferred to work while standing. Since I have both a laptop and additional monitors, a product like the the Furinno laptop stand wasn’t viable, due to its size.

The next step up is to products like the Kangaroo from Ergotron or the Workfit S by Ergotron. These run between $300 and $600. There are models to support single or dual monitors, or laptop plus monitor in the case of the Kangaroo (shown below). However, the cost of these products was too high for me to justify, and their cubicle style appearance just wasn’t going to have a high enough Wife Acceptance Factor.


The next option that I found was the Varidesk. It is a freestanding unit that sits on the desktop, with a simple adjustable rise of about 15 inches. But at $300 it was still beyond my budget. Still, the Varidesk inspired my design in its simplicity and mechanics.
Design Criteria
- Have a maximum footprint of less than 23 inches (the depth of my desktop)
- Have a rise of approximately 12 inches, which would put the platform at about 42 inches in standing mode.
- Allow enough space on the desktop to just open the laptop for quick usage.
- Avoid permanently attaching or drilling in to the desktop.
- Utilize as much scrap lumber and various hardware in the garage as possible.
My design would consist of a simple base, a primary platform for my monitor and laptop, with a slide out keyboard tray. I had decent lengths of 1×12 and 1×10 left over from my last project, so I chose them to be the platform and tray. For the base, I would use 1×4 stock, and rip down 1×2 lengths for the supports under the platform.
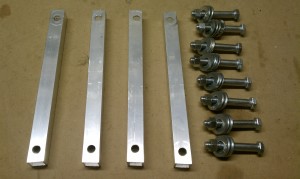
My primary concern was for strength and stability, so I chose to purchase a 3/4″ x 3/4″ square aluminum tube for my supports. This one item was about $12 for a 4 foot length, and represented the bulk of the project’s cost. Steel tube would have been less expensive, and 3/4″ electrical conduit, while round not square, would have been the least expensive option. I preferred the aluminum finish overall and decided to splurge.
For hardware, I used 3/8″ diameter bolts that were 2 1/2″ long. I ended up getting ones that were partially threaded, which turned out to be perfect so the supports aren’t rotating along the threads.
I needed 8 bolts, 8 nuts, and 32 washers. The cost of this hardware was about $10.
I found 12″ deep drawer slides in my garage from a previous project, but if I had to purchase these, they would be $4 or $5.
Construction
After cutting the 1×4 to 18″ lengths for the base, I then ripped down another plank to a true 2″ width. I cut four pieces at 11 7/8″ to go under the platform.
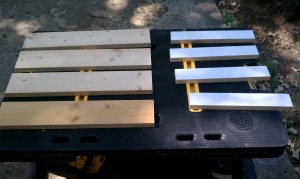
Geometry proved to be the biggest challenge of this project. I knew I wanted the platform to be flush along the back edge, and rotate up to be flush along the front edge, only 12 inches higher.
I first attempted to model this in Google Sketchup, which proved to be a big time sink. While it’s easy to model the boards, getting the rotation arc was hard to do (for me at least).
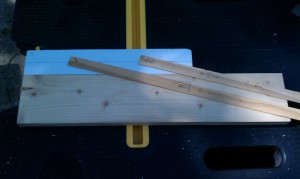
With my actual pieces in place, I decided to just try to mock it up with some thin strips of wood and tacks. My goal was to get the proper length of the vertical supports, and the proper offset for the pivot points in both the base and upper supports. Here’s a picture of my prototype:
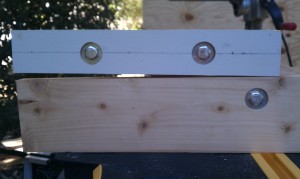
After getting what I thought were suitable points, I needed to drill the holes for the bolts and countersinks for the washers. Using a drill press, I first did a 1″ for the countersink about 1/4″ deep. Then I flipped the piece over and did a 3/8″ hole from the other side (to prevent tear-out). I did this for all 8 pieces.
CAUTION: You’ll have to make sure to pair the pieces together and measure from the left on one and the right on the other so the holes match up.
Before committing to cut the aluminum tube, I first used 3/4 x 3/4 wood rods to make sure I got all my measurements correct. It’s a good thing I did, because in fact, I had miscalculated ever so slightly the placement of one of the holes. Consequently, my rotation was off, resulting in the platform not laying flat against the base.
In re-evaluating the measurements, it became clear that I needed both sets of holes to be the same distance apart. There is a form where by the spacing can be narrower on one side, provided that one diameter is longer than the other (a car jack has this arrangement.) But in my case, equal spacing was the trick to keep the vertical supports parallel all along their rotation. On the 2nd pass, the alignment came out much cleaner.
I then cut the aluminum rod using a hacksaw, and carefully drilled 3/8″ holes in each end.
My total width of the platform would be 32″, and the keyboard tray would be 25″. I cut these to length, then used a Kreg pocket hole jig to drill through the upper supports in order to mount them to the platform. Again, I paired the supports so all the pocket holes would be concealed.
Finally, I put a back support across the base to add stability and rigidity, and caps on the front for a clean look.
Stop Blocks and Pins
In order to prevent the platform from rotating all the way forward, I put stop blocks in the base at its maximum height.
To lock the platform in place, I found some surplus Allen keys from some piece of IKEA furniture we’d assembled. I drilled a hole through the base behind each of the rear supports, so that I can insert the pin to hold it in place. (If you wanted to have multiple height settings, you could have several pin locations along the rotation.)
Finally I installed the drawer slides and attached the keyboard tray, and gave the entire unit a coat of paint.
Do you like this design but aren’t interested in building your own? I’m taking orders for pre-made Standing Desks that I’ll build and ship to you. Check out www.freestander.us to learn more and place an order.
Installation
In order to prevent the unit from sliding when I would lift up the platform, I attached two adjustable L-brackets to the base so I could ‘hook’ the unit to the desktop and clamp it down. I used wing-nuts to make it easier to secure when near the wall.
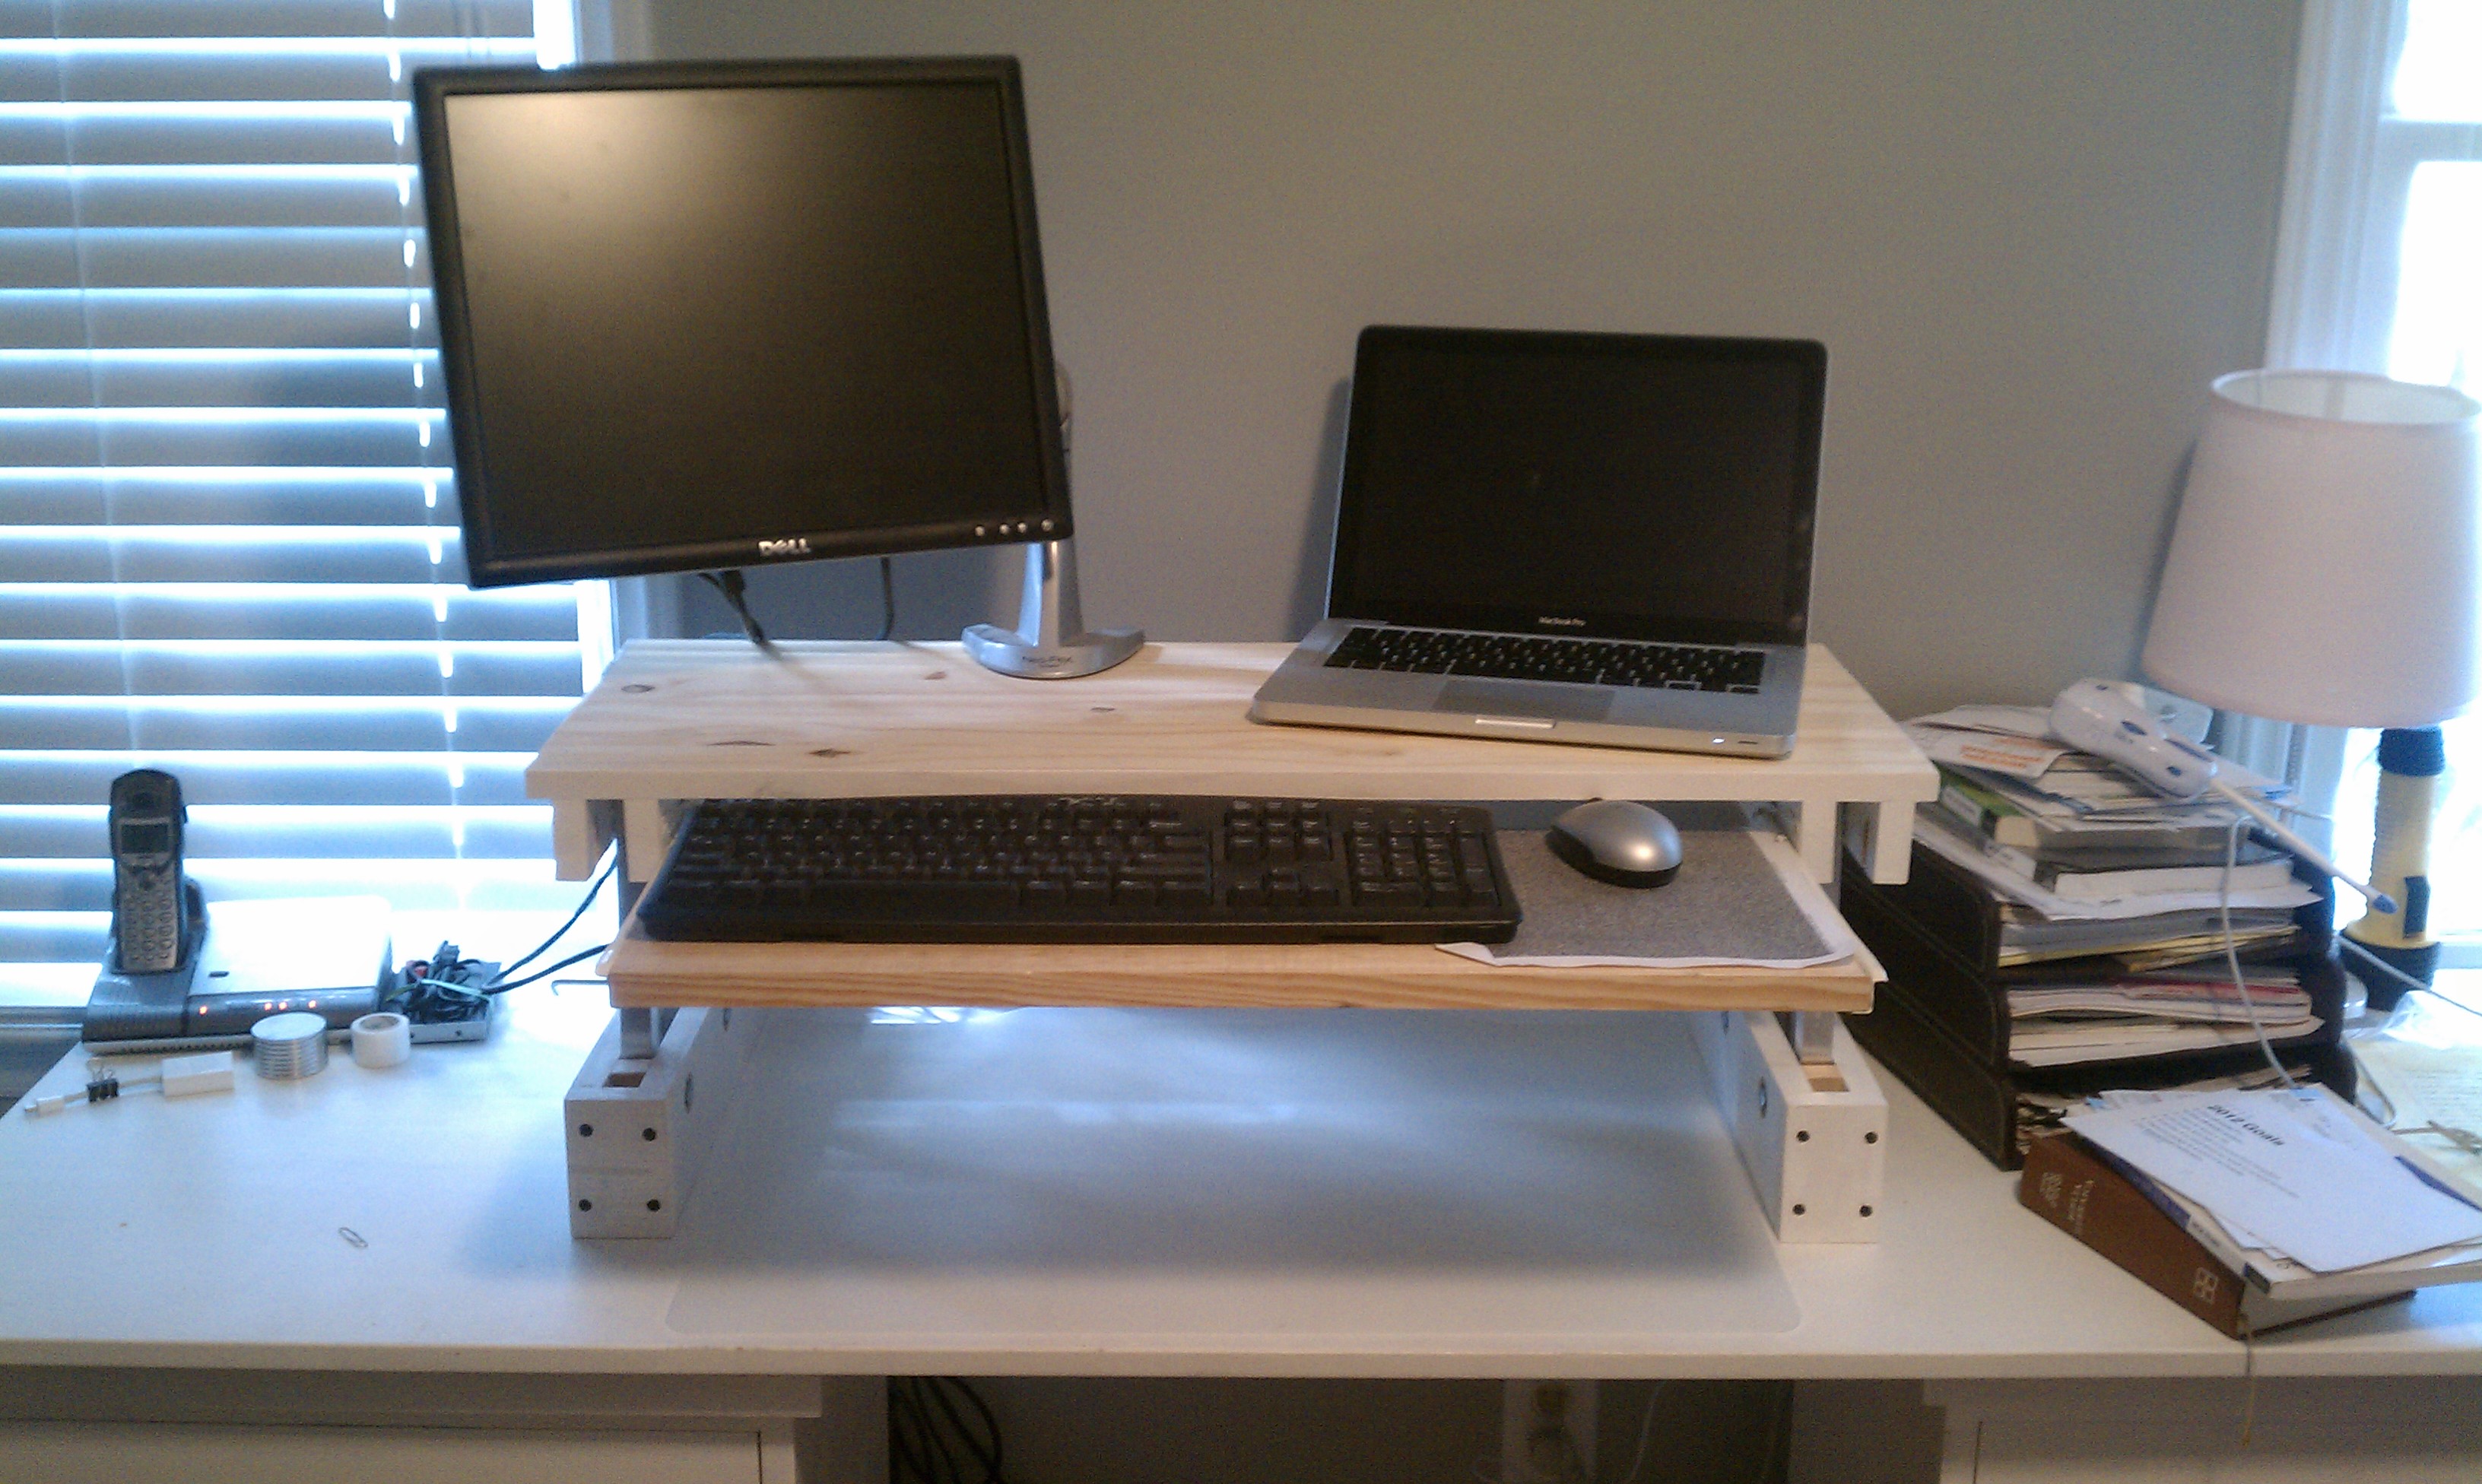
My monitor mount attached nicely to the platform, and gives me plenty of room for either my 13″ Macbook Pro, or 15″ HP laptops. I also added some cable retainers to keep various cables close at hand.
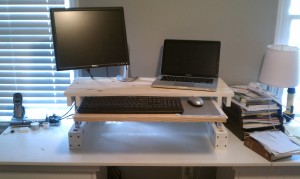
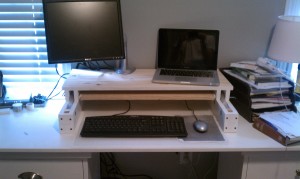
This project took me two weekends, one for construction and one for painting, but I am totally pleased with the result. I may end up building a second one for my office at work.
UPDATE: Many people have asked for a video showing the operation of the desk, so I have put that together below.

Leave a Reply